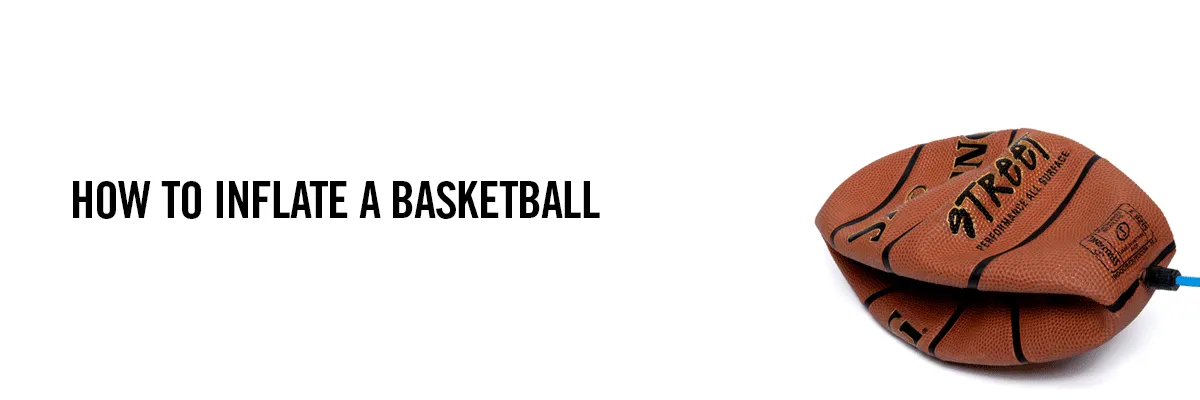
How to inflate a basketball
Never let a flat stop your hustle. Consistency begins with a perfectly inflated ball. Want to get the perfect bounce with every dribble? Anytime. Anywhere.
Before you start hooping, we recommend having the following items nearby to verify the air pressure in your Spalding basketball:
- Air Pump: Choose a reliable air pump designed specifically for inflating sports balls.
- Inflation Needle: This is a small, pointed attachment that connects to the pump. Many air pumps will include inflation needles. Spalding pumps will have a built-in needle compartment in the handle for easy storage. The appropriate needle must fit tightly into the valve to avoid air escaping while inflating.
- Pressure Gauge: A pressure gauge can assist you in determining the precise air pressure to guarantee proper inflation. We suggest you pump up the basketball to 8 psi, as indicated on all Spalding basketballs.
Step-by-Step Guide:
Step 1: Inspect the Basketball
Before you start inflating the basketball, give it a quick visual inspection. Look for any visible defects, cracks, or worn-out areas. Should there be any defects or cracks, we recommend acquiring a new basketball.
Step 2: Insert the Needle
Take the inflation needle and insert it into the valve of the basketball. The valve sits near the bottom of the ball. Ensure the needle fits snugly into the valve to prevent air leaks during inflation.
Step 3: Begin Inflating
Connect the pump to the needle and begin inflating the basketball.
Step 4: Check the Pressure
Occasionally pause inflating the basketball and monitor the pressure with the aid of the pressure gauge. Most basketballs have a recommended pressure range, between 7-9 psi (pounds per square inch). Our recommendation is 8 psi. We encourage you to take the step and use a gauge; we know it’s tempting to air up the ball without one, but over-inflation can really damage the integrity of the ball and it will not perform to standard. Extreme over-inflation can cause the ball to explode, which may result in severe injury.
Step 5: Test Bounce
Once you've reached the desired pressure, remove the needle from the valve. Gently bounce the basketball on a flat surface a few times to check the ball’s inflation. It should have a consistent bounce and feel responsive.
Step 6: Final Check
After the initial bounce test, inspect the ball once again for any signs of air leakage or unusual behavior. If the ball loses pressure quickly, it might indicate a problem with the valve or a leak. If this occurs and your basketball is under a year old, please send a warranty claim to our Customer Care team.
Step 7: Correct Storage of Basketball
Once you have finished inflating your basketball, it's advisable to store it in a room with a regulated temperature. Try not to store it outdoors or in a vehicle. Such conditions can lead to the ball deflating and reduce its lifespan.
NEVERFLAT® BASKETBALLS
Please do not inflate NEVERFLAT® basketballs for the first year. Instead, contact our Customer Care team to submit a warranty claim.
If your NEVERFLAT® basketball is over a year old and needs air, remove the valve cap. Next, use an air pump to inflate the basketball. Once inflated, put the valve cap back on the valve section.
Basketball Accessories


