Free ground shipping on all orders for MVP Members. Sign Up
How to gift wrap a basketball

'Tis the season for giving, and if you have a basketball lover on your gift list, you're in for a fun wrapping challenge! It may seem tricky to wrap a basketball, but we've got a simple solution. Let's take the game off the court and onto the gift table as we show you how to wrap a basketball. 


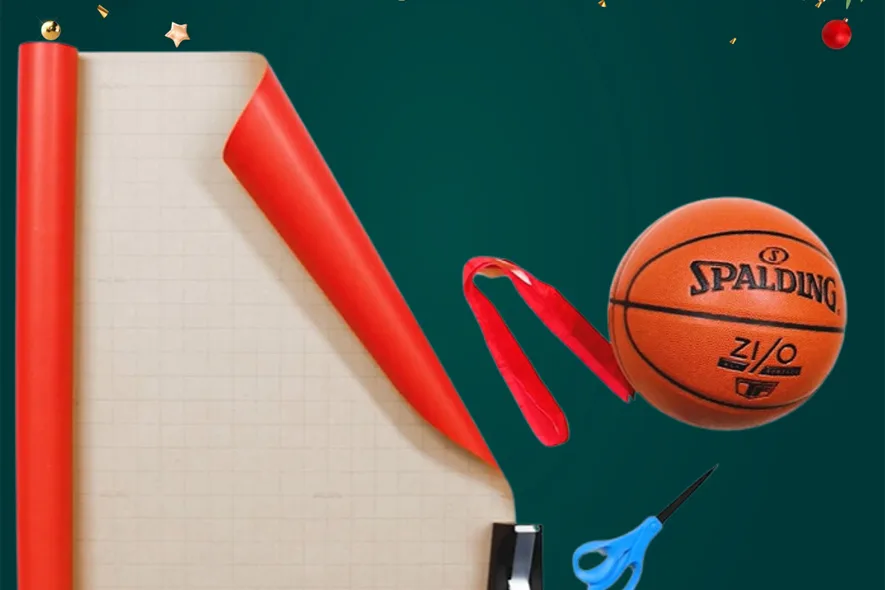
Before we get started, gather your materials. You'll need the following:

A basketball  

Wrapping paper or tissue 

Scissors 

Clear tape 

Ribbon or a colorful basketball-themed bow 

A gift tag

Unroll your wrapping paper and lay it flat on a clean, spacious surface. Ensure that it Unroll your wrapping paper and lay it flat on a clean, spacious surface. Ensure that it

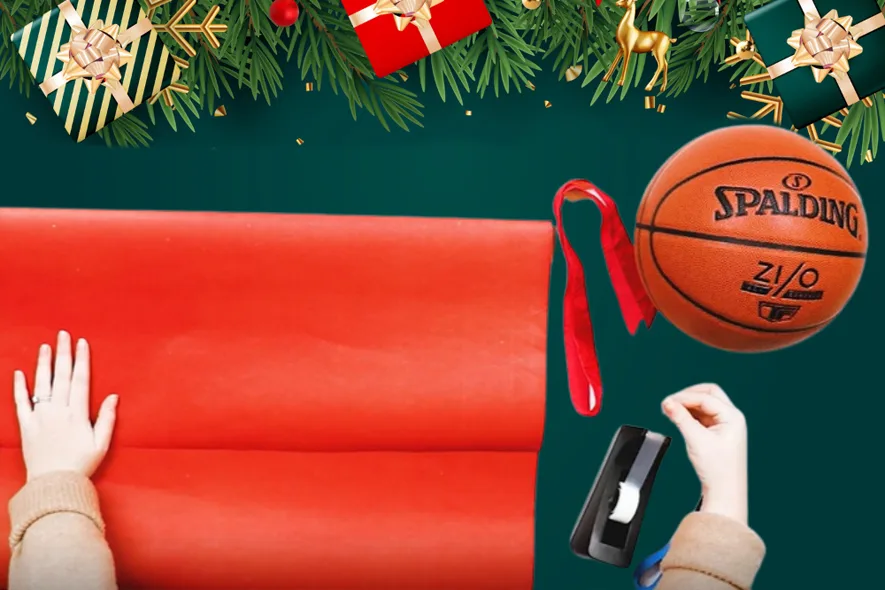
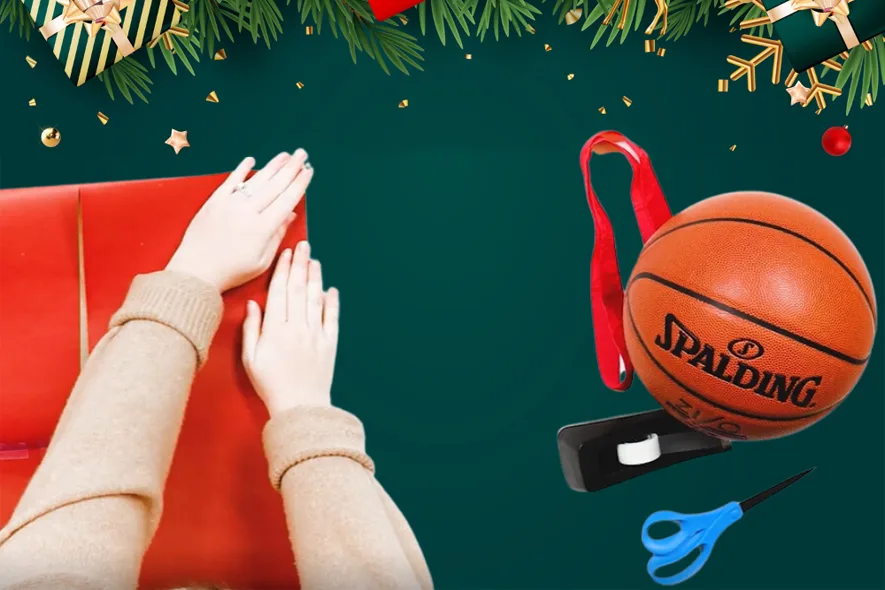
Step 1: Unroll & cut wrapping paper

Unroll your wrapping paper and lay it flat on a clean, spacious surface. Ensure that it's large enough to wrap around the basketball entirely.
Place the basketball in the center of the wrapping paper, about a third of the way up from the bottom edge. This leaves enough paper to cover the top, bottom, and sides of the basketball.    Place the basketball in the center of the wrapping paper, about a third of the way up from the bottom edge. This leaves enough paper to cover the top, bottom, and sides of the basketball.

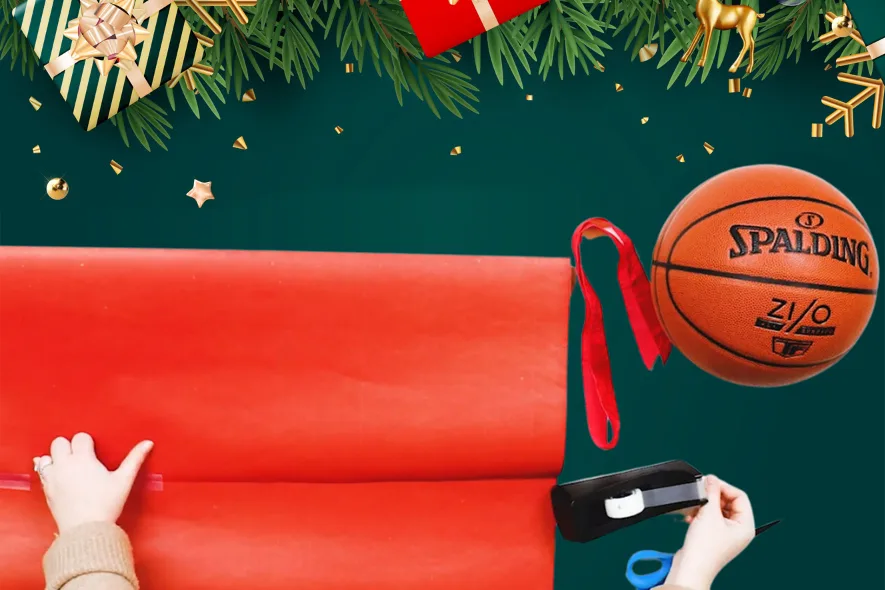
Step 2: Trim paper & fold ends together at center

Place the basketball in the center of the wrapping paper, about a third of the way up from the bottom edge. This leaves enough paper to cover the top, bottom, and sides of the basketball.
Align edges of folded wrapping paper and tape the folded craft paper together where they overlap, making sure that it’s secure from top to bottom. Align edges of folded wrapping paper and tape the folded craft paper together where they overlap, making sure that it’s secure from top to bottom.

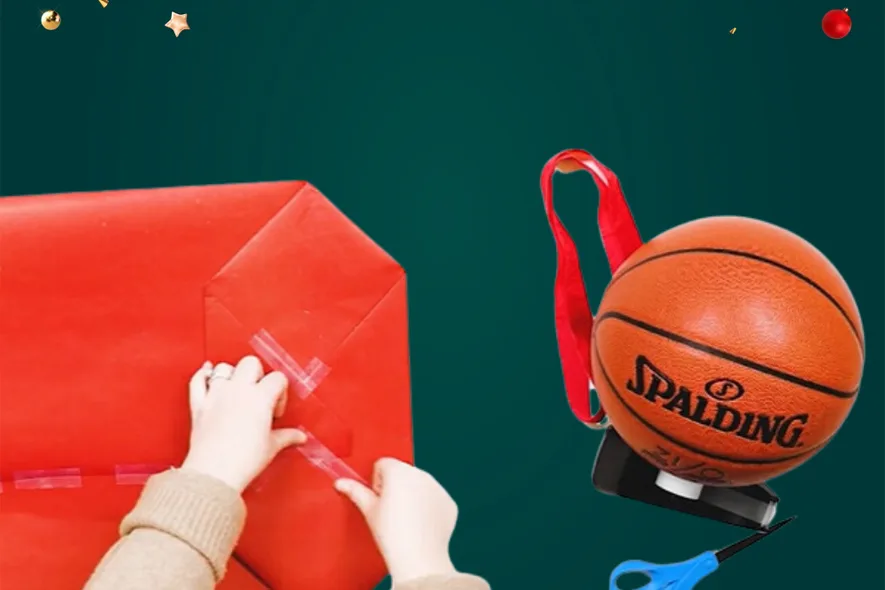
Step 3: Align edges & tape

Align edges of folded wrapping paper and tape the folded craft paper together where they overlap, making sure that it’s secure from top to bottom.
Measure how wide the base of the bag needs to be by placing the basketball at the bottom of the craft paper and then folding the bottom of the paper up past that point to ensure enough wiggle room for the ball. Measure how wide the base of the bag needs to be by placing the basketball at the bottom of the craft paper and then folding the bottom of the paper up past that point to ensure enough wiggle room for the ball.

Step 4: Place basketball over top of paper to find where the bottom will be

Measure how wide the base of the bag needs to be by placing the basketball at the bottom of the craft paper and then folding the bottom of the paper up past that point to ensure enough wiggle room for the ball.
Open that fold and separate at the middle so it creates a diamond. Flatten the edges of the diamond to make distinct creases. Fold the bottom and top of the diamond down to create two small triangles that slightly overlap at their tips and secure their edges with tape. Open that fold and separate at the middle so it creates a diamond. Flatten the edges of the diamond to make distinct creases. Fold the bottom and top of the diamond down to create two small triangles that slightly overlap at their tips and secure their edges with tape.

Step 5: Creating the base of your bag

Open that fold and separate at the middle so it creates a diamond. Flatten the edges of the diamond to make distinct creases. Fold the bottom and top of the diamond down to create two small triangles that slightly overlap at their tips and secure their edges with tape.
Now that the body and base of your bag is complete, slide the basketball into the bag. Cut the excess length of the body off of the bag, but make sure you leave enough at the top to fold the paper over. Now that the body and base of your bag is complete, slide the basketball into the bag. Cut the excess length of the body off of the bag, but make sure you leave enough at the top to fold the paper over.

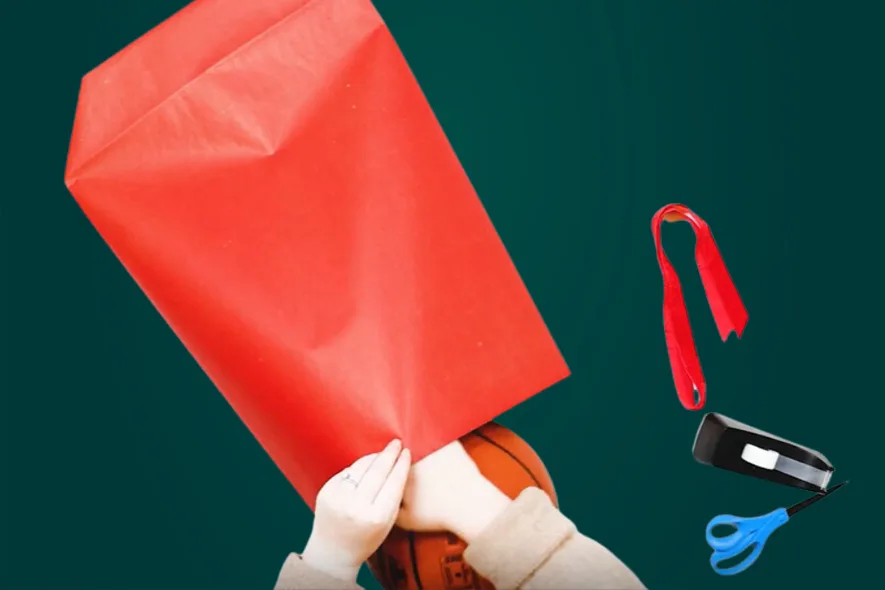
Step 6: Place basketball inside the wrapping paper and trim excess at top

Now that the body and base of your bag is complete, slide the basketball into the bag. Cut the excess length of the body off of the bag, but make sure you leave enough at the top to fold the paper over.
Add the final touch with a bow by making two holes at the top for ribbon to thread through. Add the final touch with a bow by making two holes at the top for ribbon to thread through.

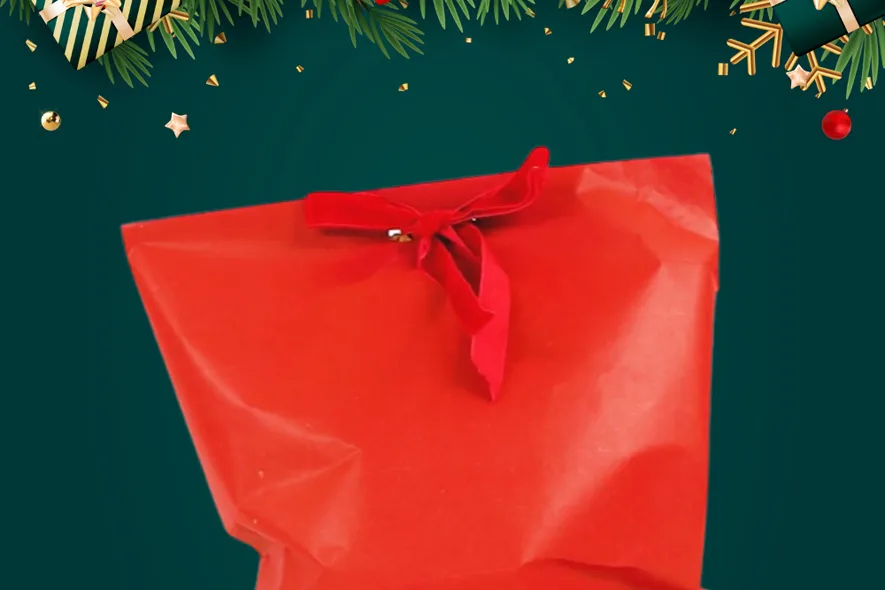
Step 7: Add Finishing Touches

Add the final touch with a bow by making two holes at the top for ribbon to thread through. Opt for a fun basketball-themed ribbon to add extra flair.
Personalize with a name tag Personalize with a name tag

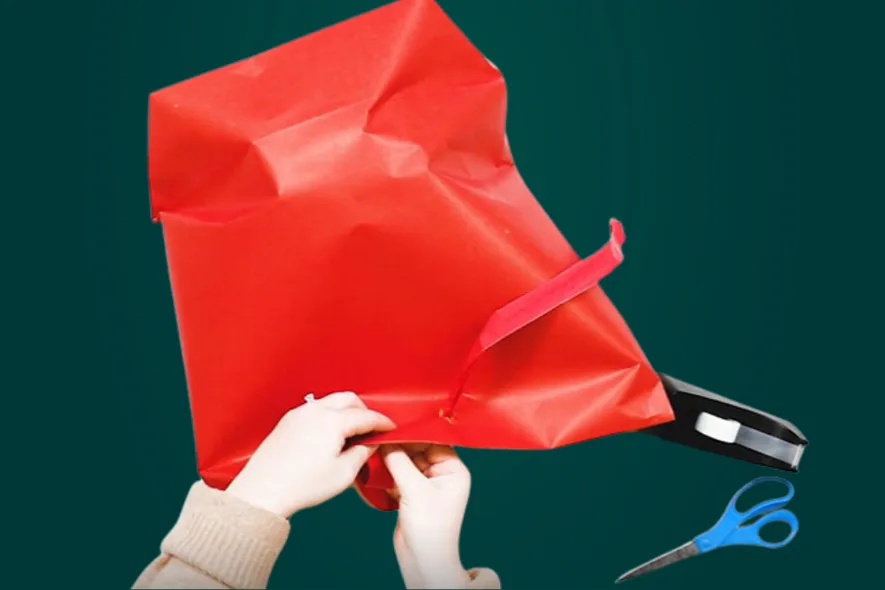
Step 8: Personalize with a name tag

Attach a gift tag with a basketball design to the ribbon. You can even write a personalized message, such as "Shoot for the Stars, [Recipient's Name]!" And there you have it – a perfectly wrapped basketball gift that's sure to put a smile on your athlete's face this holiday season.
Basketball icon Back To Top